Cheap DIY high power LED grow lights: Introducing the Zip-tie lamp
Make sure you also read this post, where I studied the PAR of these lamps and realized they are not as good as I thought!
Several months ago I wrote a post about using high power LED cobs that do not require an external driver in order to build a high power DIY LED lamp. However I hadn’t built a practical lamp using these cobs at that particular point in time so I just gave a general idea of why I would use these diodes and how the particular lamp setup would work. Today I want to talk about how to build one of these lamps in practice using an aluminum heat sink, a 150W warm white LED cob, a fan and some zip ties. The setup lacks the use of any adhesives and should provide you with roughly a 40-50% equivalent of a 1000W HPS. With two of these lamps you should be able to run the equivalent setup to 80-100% of a 1000W HPS in terms of PAR with around 60% less power consumption.
The idea of this post is to help you build a very affordable DIY lamp. However please note that this lamp involves work with mains voltages which are dangerous. Please familiarize yourself with all the precautions needed when working with high voltages. All the information herein in is provided as-is for educational purposes with absolutely no guarantee, either expressed or implied.
To build this lamp – showed above – you will need these materials (note that if your country uses another voltage you will need to buy the appropriate pieces for the voltage in your country):
- Warm white 150W LED cob
- 200x60x30mm aluminium heat sink (2 needed)
- 110V-120V AC fan
- Nylon zip ties 30cm
- Cable and wall connector
- Thermal compound (optional)
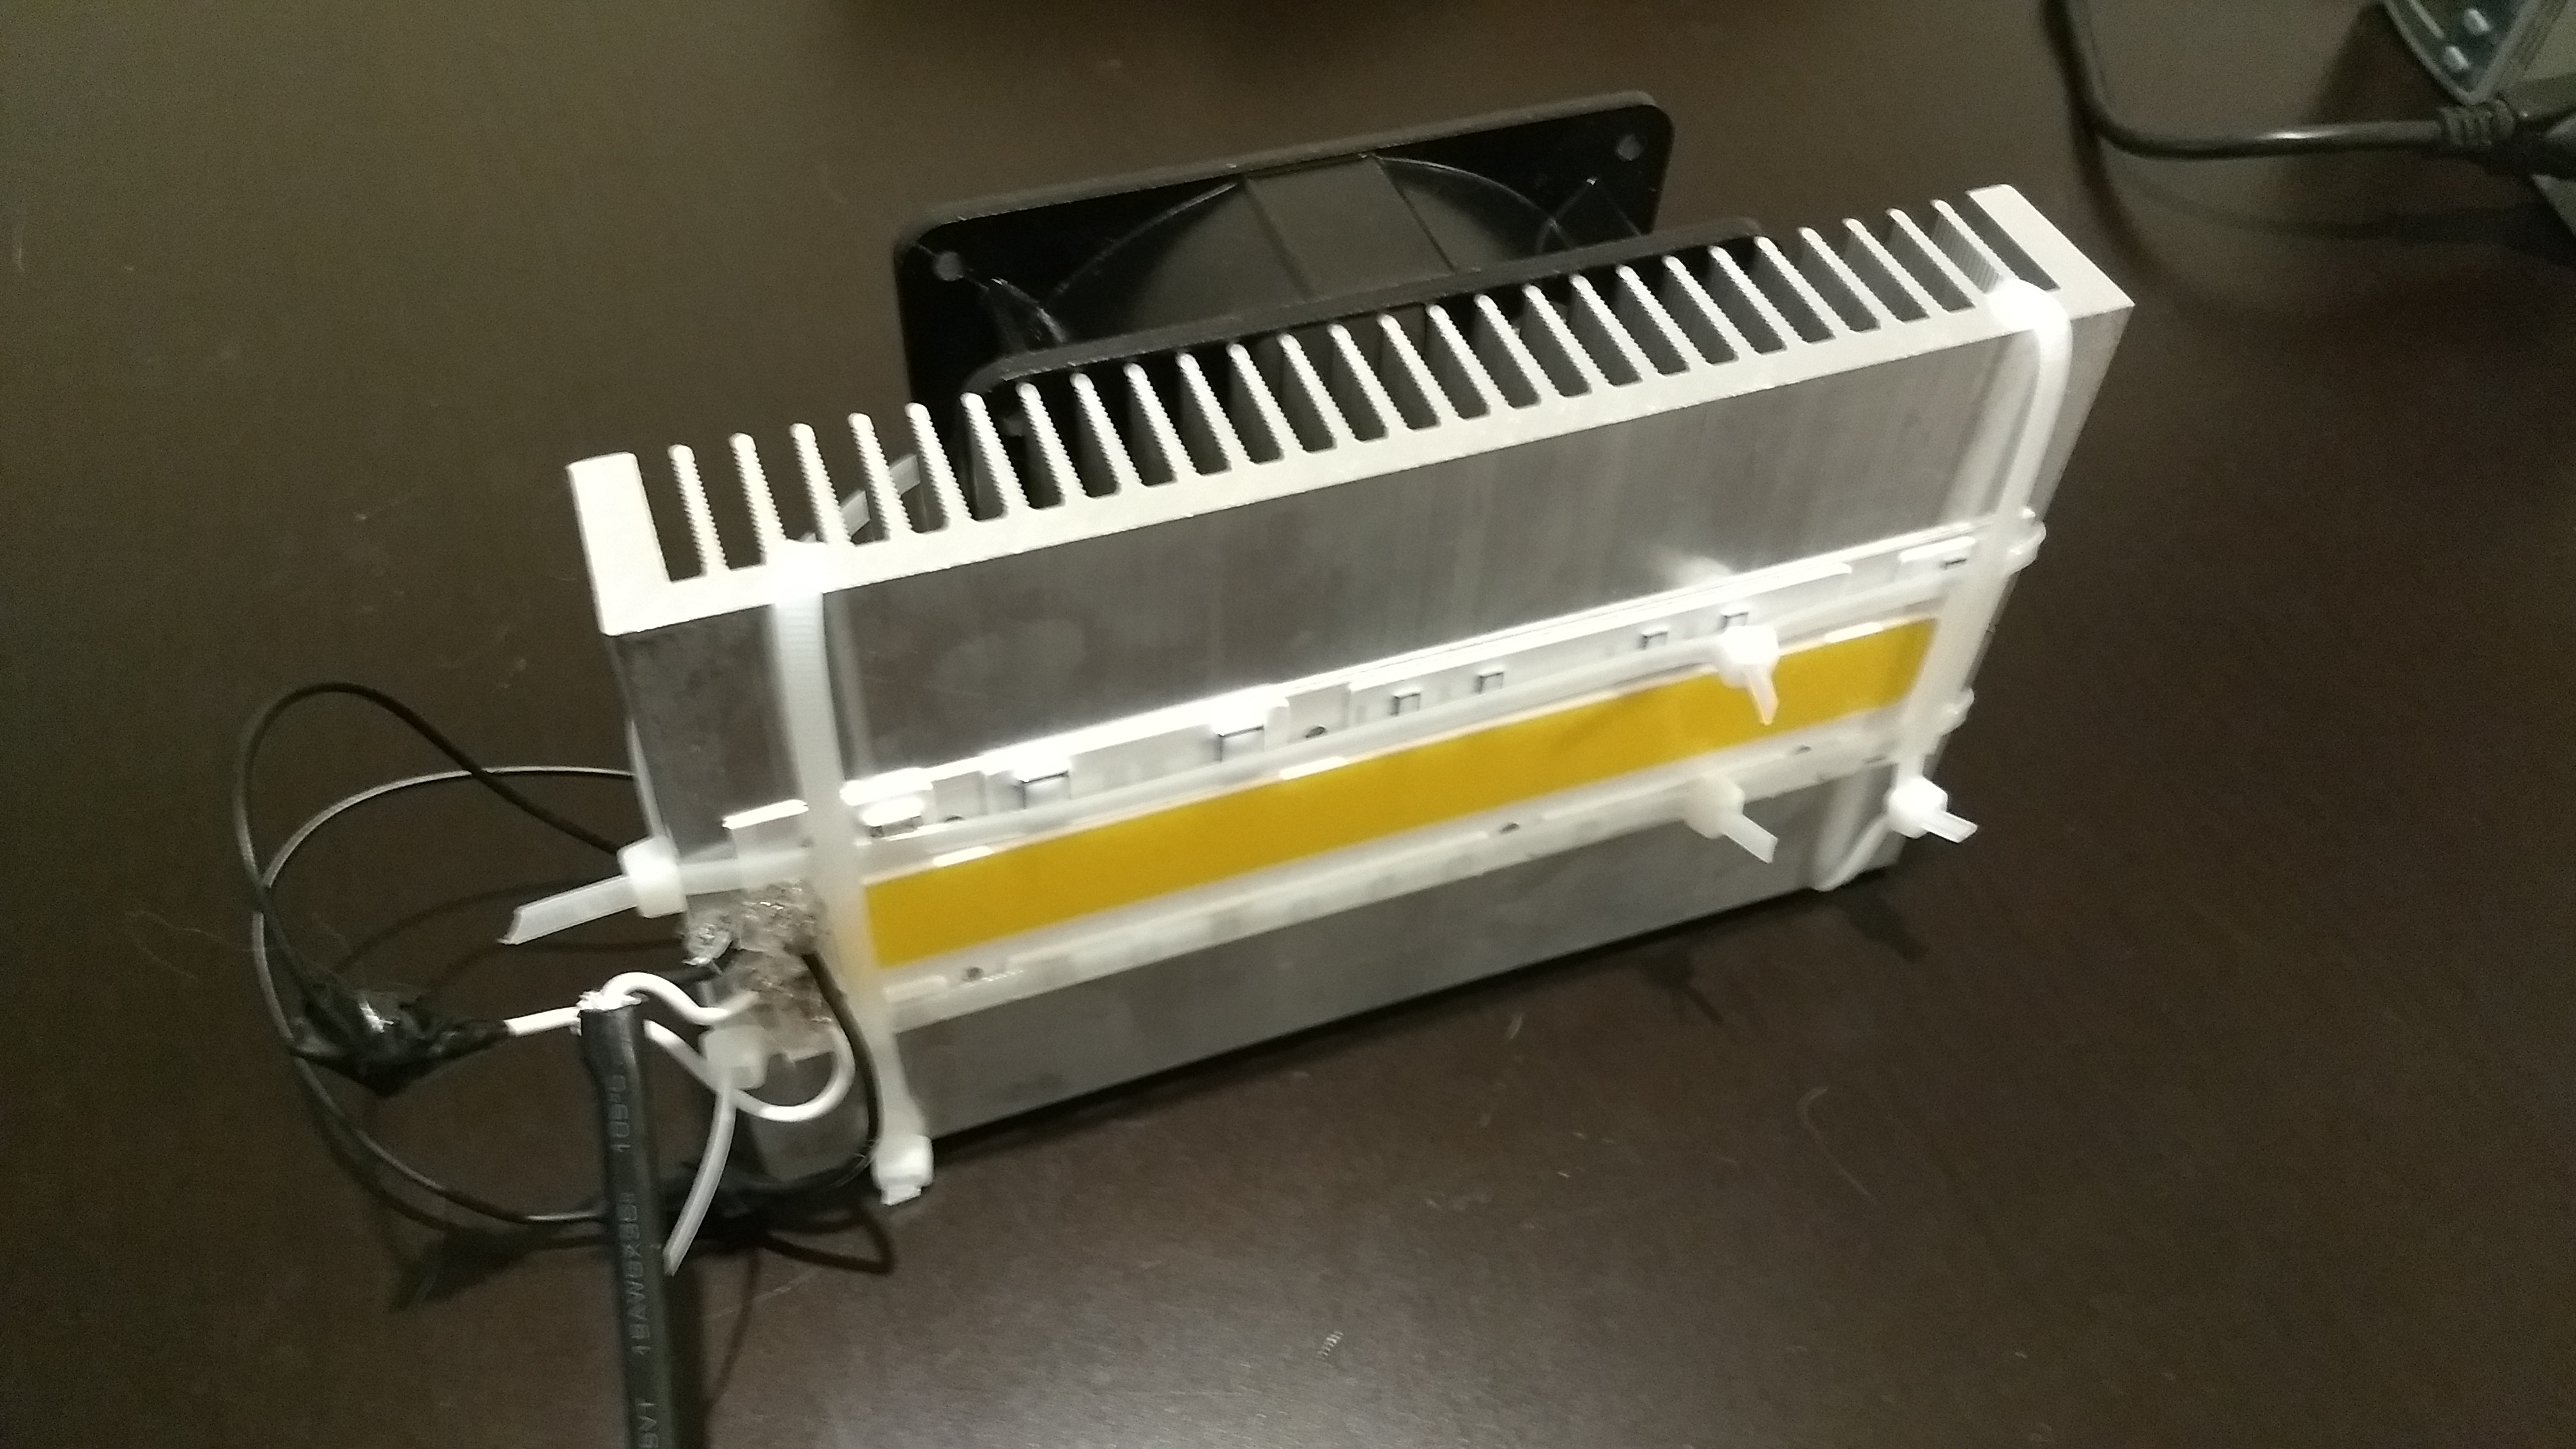
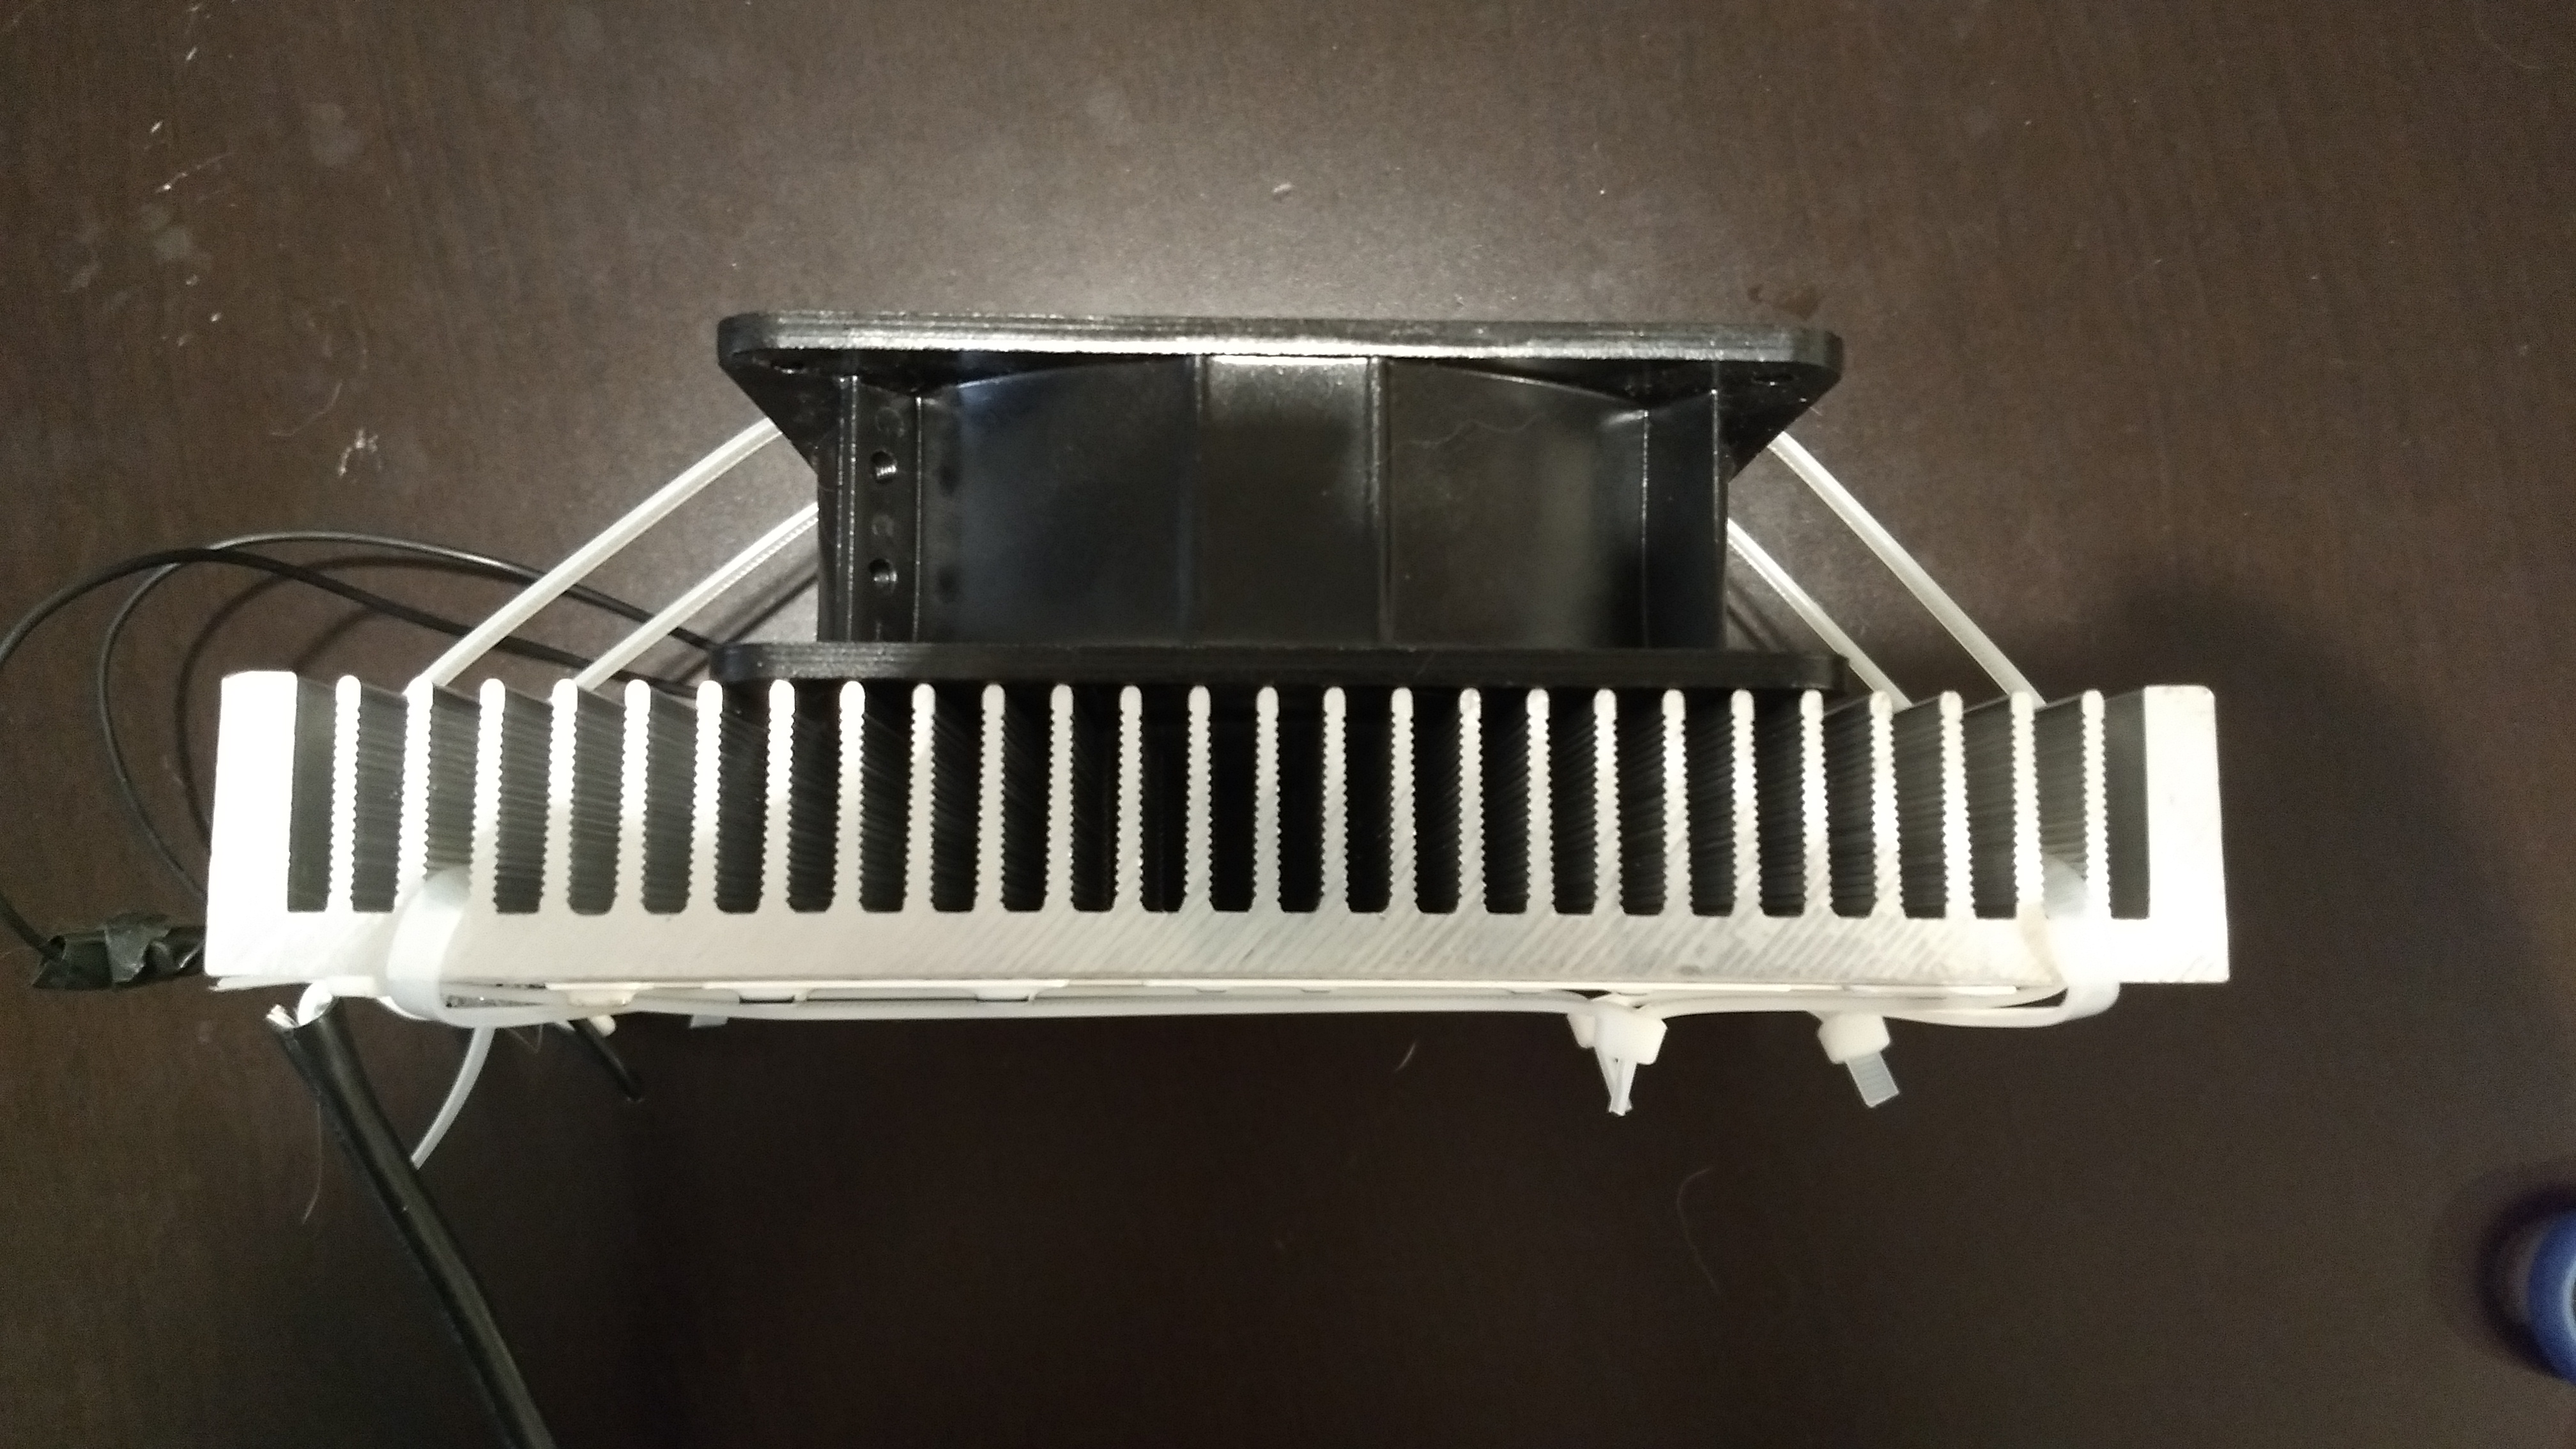
Initially I wanted to build a lamp using a high power warm white LED cob by gluing the cob to the heatsinks using a thermally conductive glue. However the problem with this is that these glues very permanently bind the cob to the heatsink so if for any reason the cob fails you would lose the heatsinks because the cob would be bound to them. For this reason I decided to use zip ties instead, which provide an easy way to secure the entire ensemble and allow you to easily replace any failing part rather quickly. I used nylon zip ties but you can also use stainless still ones if you want the setup to be more resilient (although things will be harder to cut if you make a mistake).
To assemble the lamp I basically used 4 zip tie lines two horizontal and two vertical. For the lines that go the width of the heat sink I just had to use one zip tie but for the other two lines – that also go above the fan – I had to use two zip ties for each line (you can connect one zip tie to another to have a larger zip tie). You need to tighten the zip tie very hard to ensure the cob is in direct contact with the aluminum along all its length, you can also use some thermal compound (like the one you use for CPUs) between the cob and the aluminum heat sink for maximum heat transfer. The pictures below show you a bit better how I performed the entire assembly. When putting the fan on top of the heat sinks make sure the airflow is towards the heatsink (flow arrow in the case pointing down) and that the fan can spin freely).
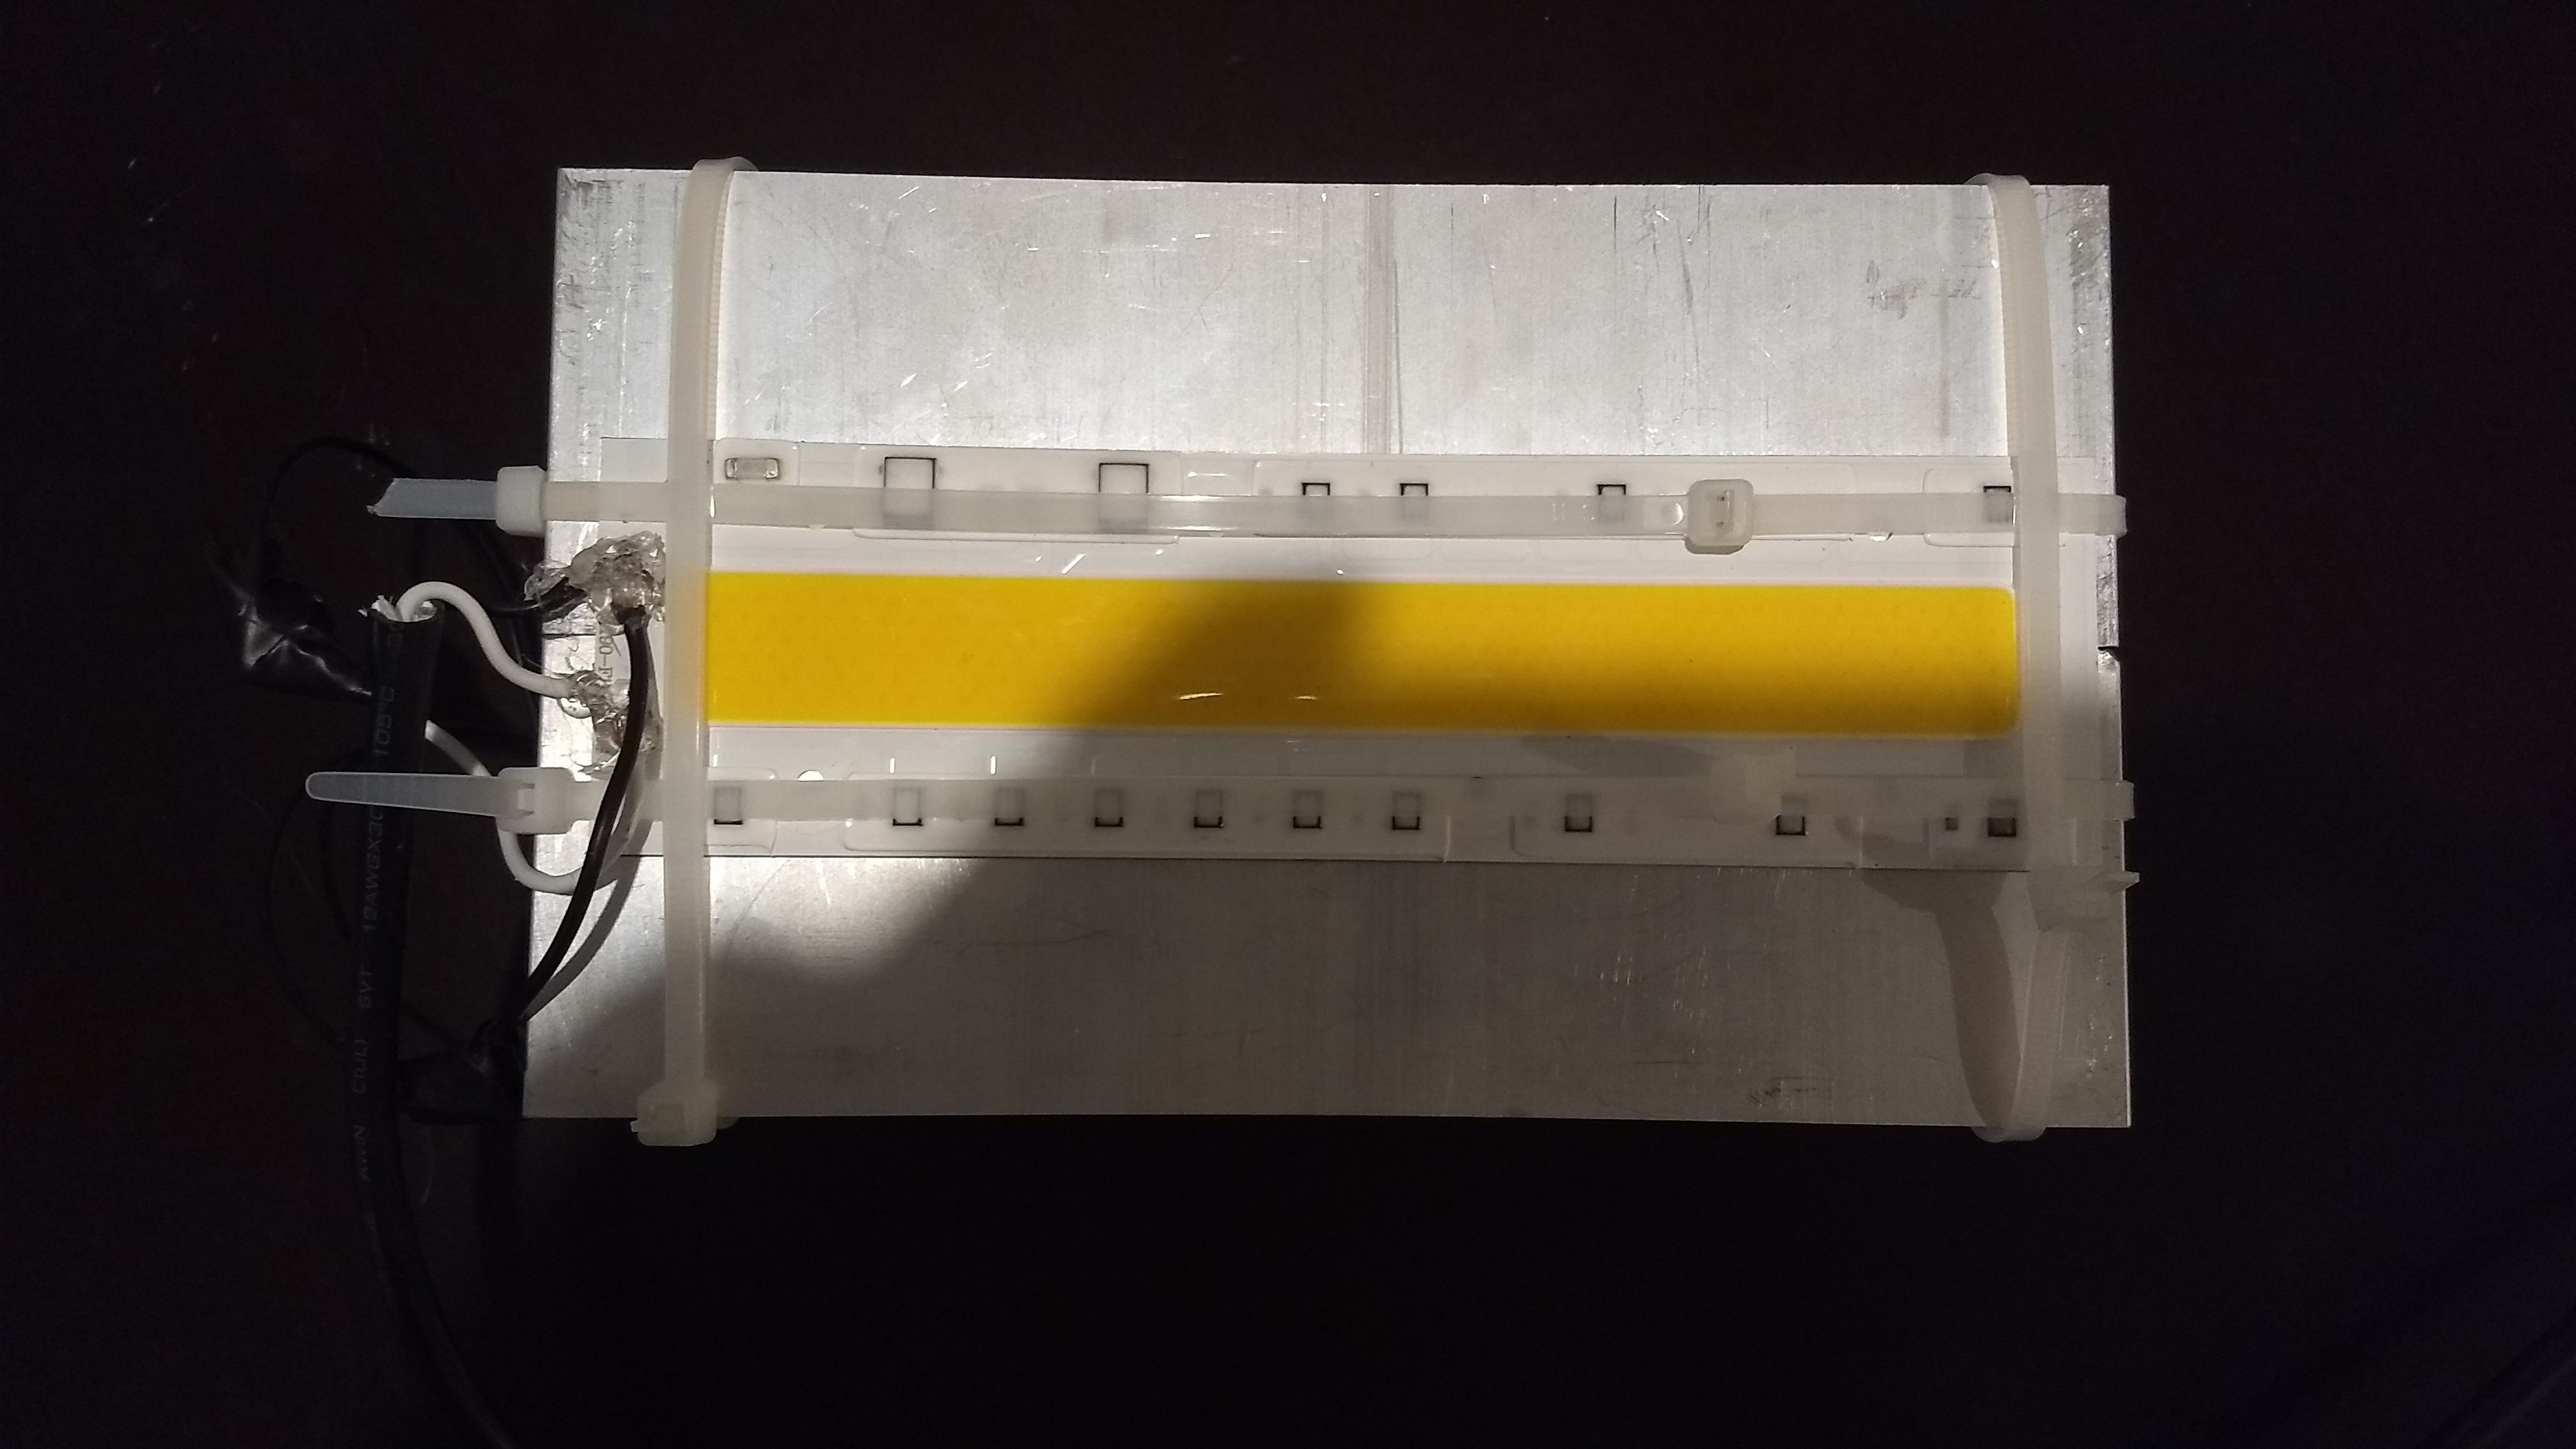
Finally I connected the cob directly to the AC line by soldering the appropriate live/neutral cables to the connectors at the left size of the cob (in the above picture). I then covered the soldered spots with silicon glue to ensure that the connections were as electrically isolated as possible. Make sure you solder as small portion of wire as possible and make sure the wire makes absolutely no contact with the aluminum heat sink or you will have a short. I also soldered the fan cables to the live/neutral as well since the fan can be driven directly by AC as well.
Since you have the zip ties you can also use them to hang the lamp, you can also add screws to the fan screwing ports and use those to hang the lamp from the ceiling. When I turned on this lamp its power consumption was around 220W – measured directly from the wall – meaning that it consumed a bit more power than what was advertised (which is not uncommon for these cobs). Since my voltage is a bit higher than 110V – which is the minimum rating for this cob – I actually get a slightly higher light/heat output than someone using it at a lower voltage. The fan – which takes around 12-15W on its own, also contributes to this consumption level.
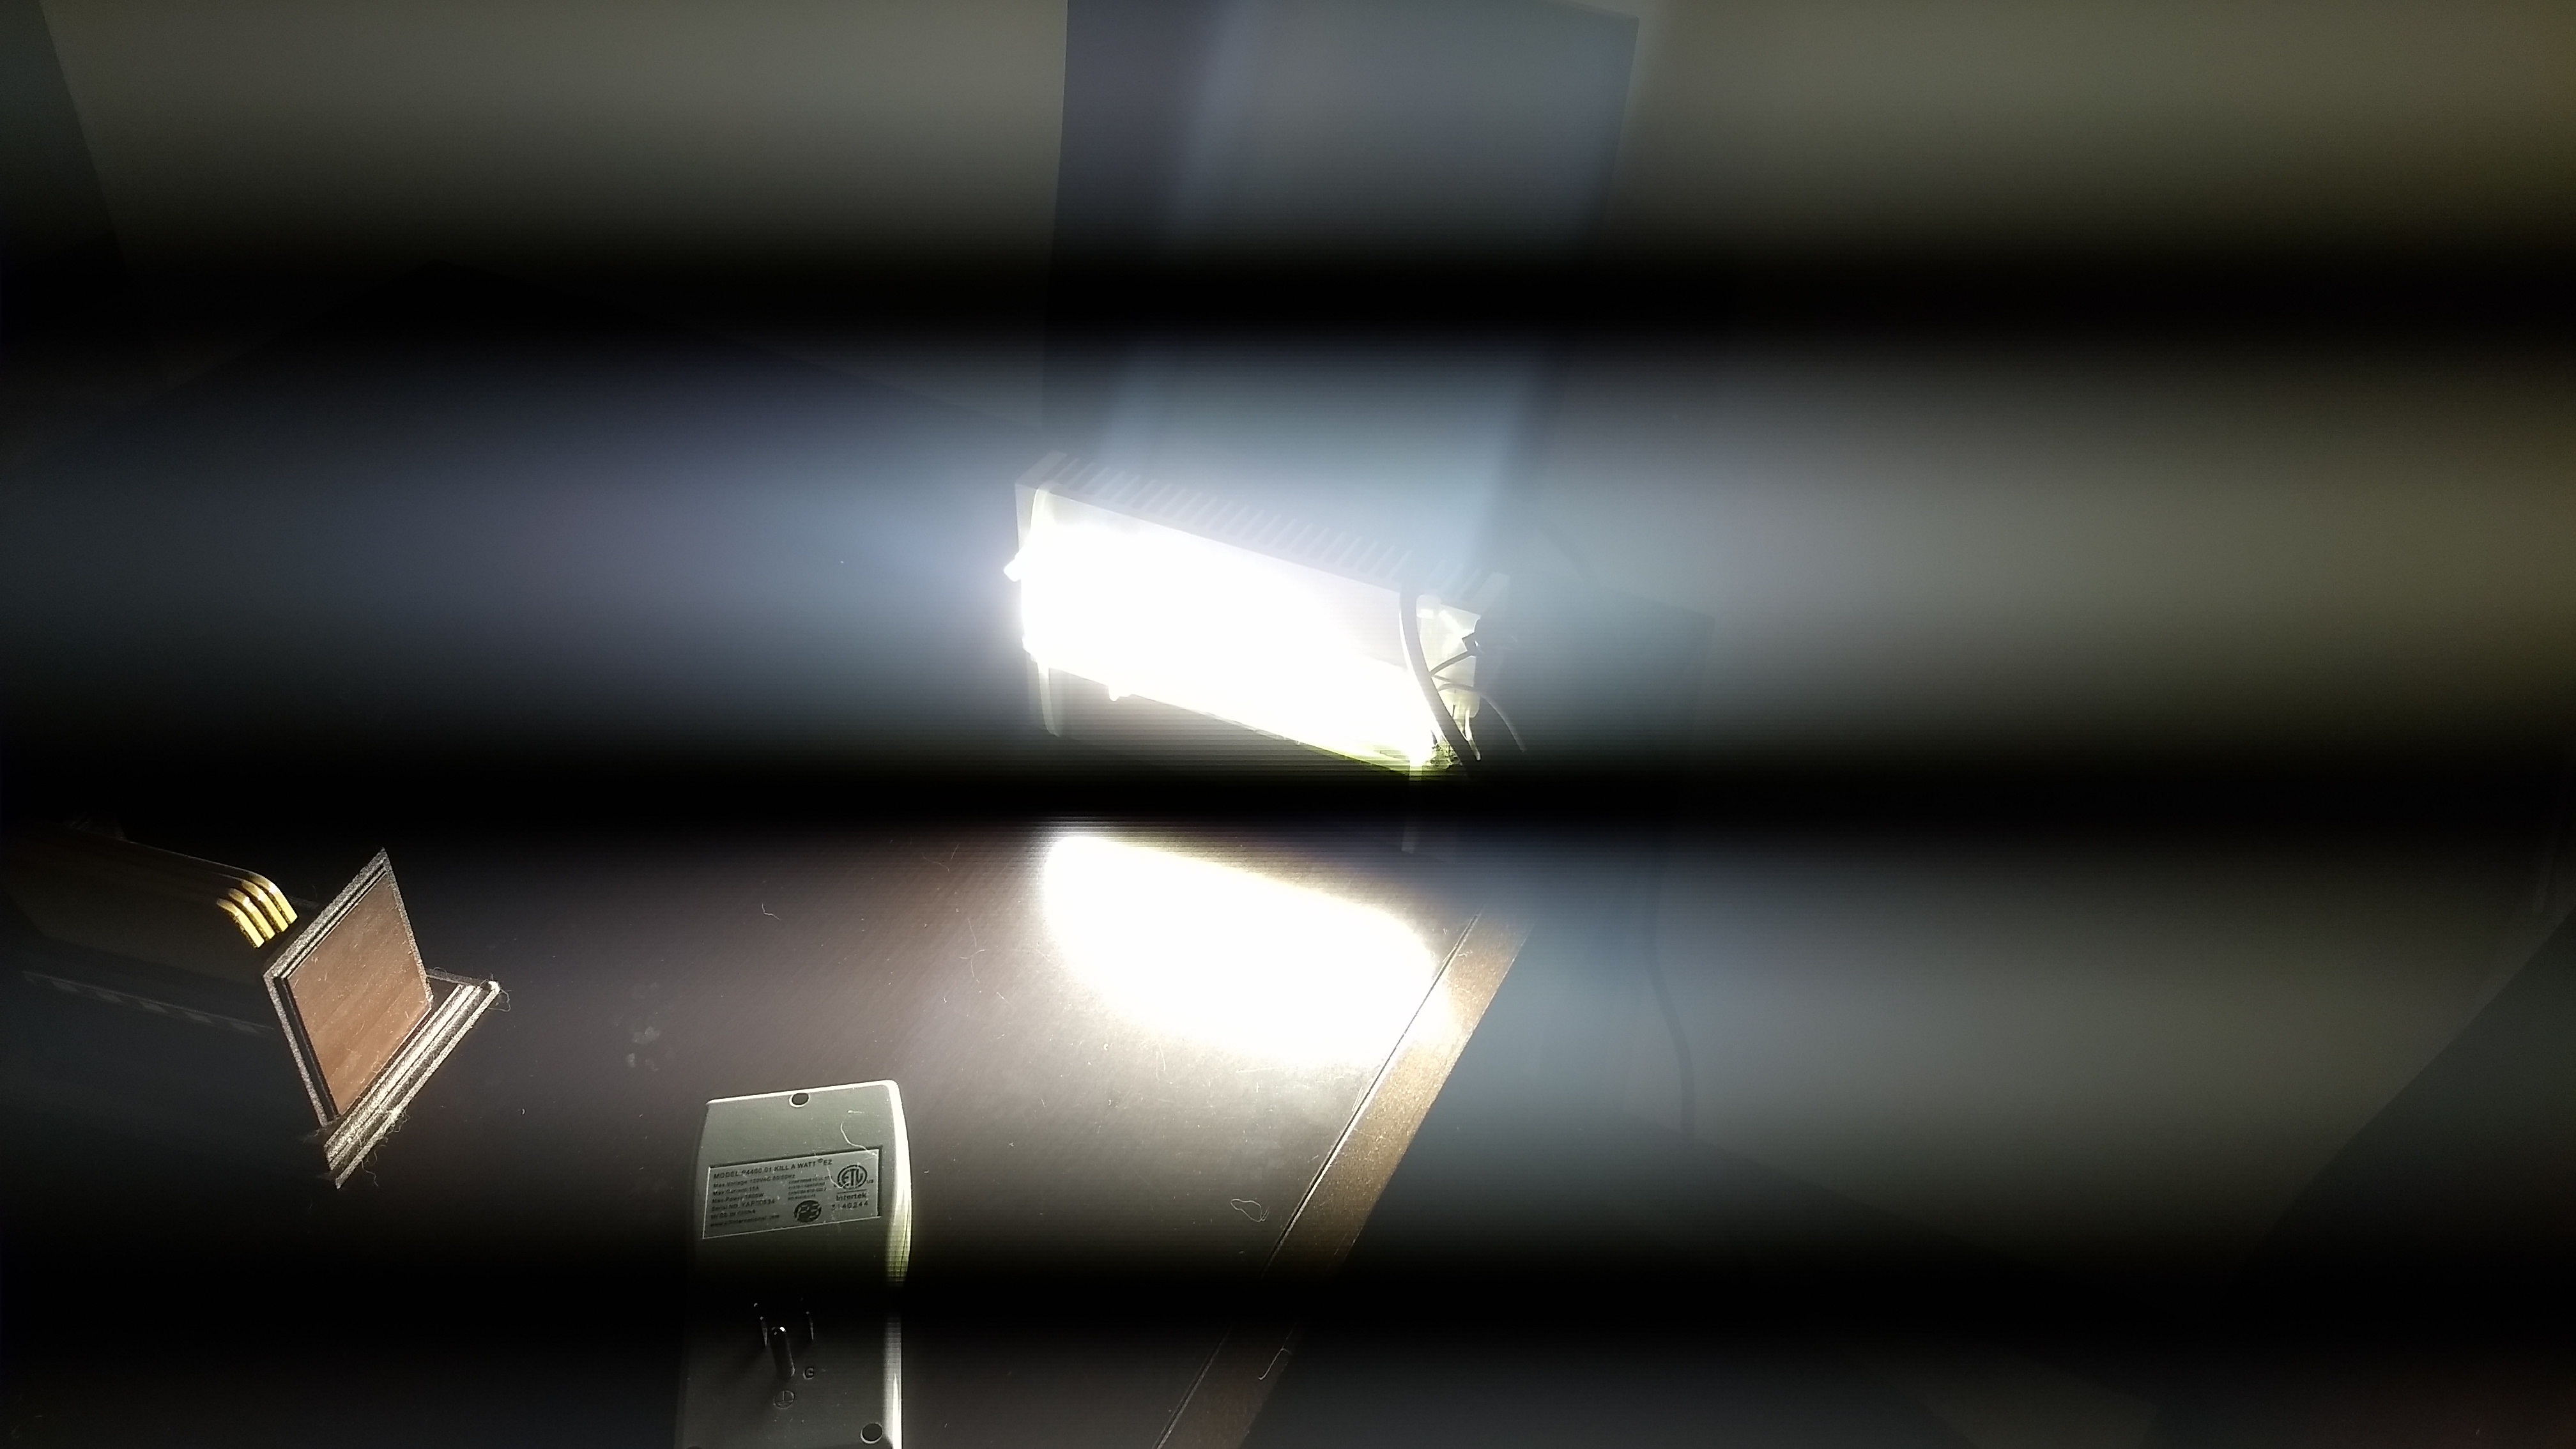
When you power on this lamp – image above (sorry about the camera not being able to handle the light intensity) – you’ll immediately notice how the heat sink starts to heat up. I have tested the lamp through 2 hours of continuous operation up until now and the heat sink reached a stable temperature of around the 120°C (~ 250F), the final temperature you reach will of course depend on your ambient temperature and how well you assemble the components. It is however very important for you to test each one of these lamps for 12/24 hours to ensure that they don’t heat up excessively. Nylon will melt at around 220°C so you definitely don’t want your lamp to ever reach even close to that temperature (to be safer you can use stainless steel zip ties). However it is very likely that the LEDs will burn out way before this happens if your temperature rises too far. You can also add a second fan or use a larger heat sink if your temperature is too high.
In the end the setup is extremely simple to build and you can get roughly 40-50% of a 1000W HPS with one of these lamps. With two of these lamps you will run at around 450W which is 55% less power than an equivalent HPS setup. Although heat generation is no joke here, it is indeed much less than the comparable heat output of a 1000W HPS. With a cost of less than 80 USD per lamp you will be able to build these lamps at a far lower cost than the very expensive grow lights you can get online (which can often go for thousands of dollars for a single 1000W HPS equivalent). If you read my earlier post you will notice that I previously thought you needed 4 cobs to reach the equivalent of a 1000W HPS, turns out you only need two 110V cobs running at 120V!
I have made some PAR, lux and temperature measurements but I want to keep those for a future post where we will look at some of the spectral and thermal characteristics of this lamp vs other lamp types.