Hardware for building a wifi-connected DIY monitoring/control system for a hydroponic crop
Success in hydroponic systems can be increased by having adequate control over a wide array of different variables. Having automated monitoring and control will mean faster reaction times and provide better information about crop cycles as they happen. Having the possibility to choose the sensors that you require and code the control algorithms yourself will also provide much more flexibility when compared with commercial solutions, although the price can often be higher since you are going to get hardware that has capabilities that will likely exceed the minimal capabilities required to perform the specific setup you will arrive at. In today’s post I want to talk about the hardware I generally use to build a basic DIY monitoring/control system that involves no soldering and allows for easy connections of all sensors. I will talk about each piece, its cost and why/how it’s needed within a basic system.
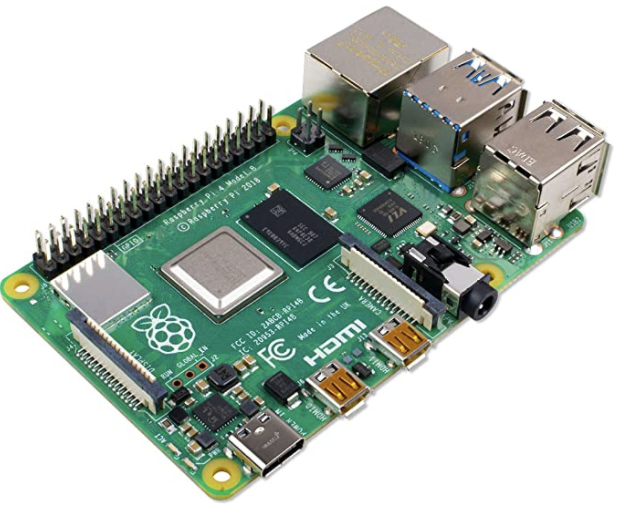
Raspberry Pi 4 – 39.61 USD. This is going to be the computer that will be the brain of the entire operation. The Raspberry Pi will receive information from all the sensors around and will make control decisions that will then be sent to the appropriate control-executing stations within the network, it will also record sensor readings and provide a proper interface for the management staff. Usually I use the raspberry Pi to host the database that contains all the sensor readings, plus the execution of the control algorithms and the hosting of web server that the people who manage the crop can access from their other devices (in order not to have to access the raspberry pi directly all the time).
Arduino UNO WiFi REV2 – 39.96 USD. These arduino boards are going to be the heart of the sensing stations and the stations that execute control actions. They will take sensor readings and send them back to the Raspberry Pi via the wifi network. When I build DIY solutions of this type I usually use the MQTT protocol to communicate between the Raspberry Pi and the Arduinos, for this reason it’s really convenient to have the Arduinos include Wifi themselves, so that additional money does not need to be spent on WiFi chips for them. With the Arduino UNO WiFi REV2 you will have all the WiFi connectivity you need available from the get-go, with the ability to still use all the shields an Arduino UNO can support.
Whitebox labs Tentacle shield – 127 USD. This arduino shield offers you the ability to implement measurement of several different sensors in your hydroponic crop. With this shield you can connect up to 4 different Atlas probe sensors, with all the measurements being properly electrically isolated, allowing you to place all the different probes in the same tank.
Atlas pH kit – 164 USD. This is the pH probe sensor and EZO board that are required to be able to connect an Atlas pH probe to your Whitebox labs Tentacle shield above. This pH probe is of very good quality and will provide good readings even if the probe is immersed for a significant period of time. I have used these probes successfully for constant monitoring of recirculating solution tanks, with the probes having to be recalibrated every few months and so far no probes having to be replaced. However, if you want a probe that will withstand a lot of additional stress, then the industrial Atlas pH probe might be a better choice. The kit also includes the calibration solutions necessary to setup the probes.
Atlas EC probe conductivity kit – 239 USD. This contains the necessary materials to connect an EC probe to the Whitebox Tentacle shield. The kit also includes all the necessary calibration solutions to setup the probe, it is analogous to the pH kit mentioned above.
Gravity IO Expansion shield for Arduino – 8.90 USD. This shield provides you with a lot of additional plug-and-play IO capabilities for your Arduino UNO sensor/control stations. I generally use these shields to be able to easily connect digital/analogue sensors and relays from dfrobot. It is very easy to do and does not require the use of any soldering or proto-boards. When you couple the use of these shields with project boxes you can come up with some very robust and practical DIY implementations that are easy for anyone to create.

Gravity quad motor shield for Arduino – 14.90 USD. Like the above, I generally use these shields as part of control stations where I will be using motors to carry out control actions. This shield can power up to 4 small DC motors, so it is ideal to control small peristaltic pumps like the ones we generally use to move small amounts of concentrated nutrient solutions or pH up/down solutions.
Environmental sensors (Temperature, relative humidity, barometric pressure) BME280 – 15 USD. These sensors are my all-time favorites for measuring temperature, humidity and barometric pressure in hydroponic crops. They have one of the most accurate low-cost chipsets to measure humidity and this DFRobot package is extremely easy to plug into the DFRobot IO shield mentioned above (just plug the connector into a digital input row!).
Analog infrared carbon dioxide sensor – 58 USD. These sensors have been my go-to solution when it comes to measuring carbon dioxide concentrations. They are fairly accurate and can tell you if you are circulating air enough or if your carbon dioxide enrichment is working as expected. I usually equip at least one of the environmental sensing stations I setup with one of these sensors so that I can keep an eye on the crop’s average carbon dioxide level.
Capacitive soil moisture sensor – 14.90 USD. When we measure water content in hydroponic crops we are going to be placing the sensor in contact with highly corrosive and conductive nutrient solutions, so we want to avoid any water content measuring devices that use conductivity. This capacitive sensor has become my choice of sensor for the measuring of water-content, it is really easy to use and calibrate and offers the ability to monitor several different plants due to its relatively low cost.
Ambient light sensor – 2.60 USD. This very low cost sensors are great for telling whether lights are actually on/off based on their inputs. They can also give you a crude measurement of how strong light is – if you are growing under the sun – so they can help you track if shades are needed. There are certainly more elaborate sensor, but this sensor gets the job done for a very low price.
120V, 5A Relay – 2.60 USD. These relays are my go-to choice when having to power low power appliances on-off in a hydroponic setup. They are great to control things like fans and smaller lights. If you want to control larger lamps then I would suggest you use the 16A relays that can handle much larger currents. As with the previous sensors/controls we’ve discussed, these relays can be easily plugged into the Gravity IO shield, allowing for the easy building of relay control stations.
The above are some of the pieces that I will commonly use in a hydroponic crop for systematic monitoring/control. While some of these – like the pH/EC sensors and boards – could be replaced by cheaper equivalents, I prefer to go with more expensive parts that have better electrical isolation and properties. However, a very cool and useful sensor setup can be built with just an Arduino, a Raspberry Pi, a gravity IO shield and a bunch of environmental sensors. Of course the above setup gives the most flexibility but significantly lower cost alternatives are possible if very specific stations want to be built or if the use of very specific sensor configurations is desired (so no gravity shields would be used and the sensors would just be soldered where needed).