The NPK Mystery – What Do These Numbers Mean and How are they Calculated ?
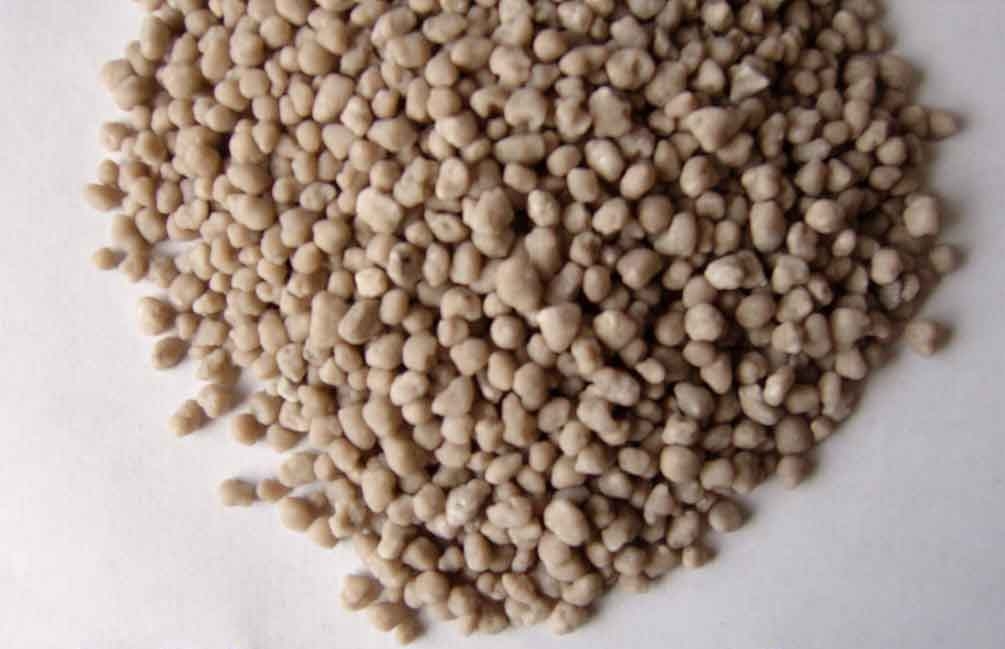
When you go into a forum about hobby hydroponic or soil growing one of the first things you will notice is that there is a big confusion regarding the meaning of the traditional NPK notation and the way these values are actually calculated. Some people believe this is supposed to be merely an N to P to K ratio measurement while others erroneously use ppm information directly to get their NPK fertilizer information. On today’s post I want to talk about the real meaning and nature of the NPK measurement as it is used in traditional agriculture, how it is calculated and what it tells us about a fertilizer. (below a fertilizer made with pelletized nutrients in clay, traditionally described using the NPK ratio, this ratio is important because it is necessary to know how much is clay and how much is fertilizer)
 –
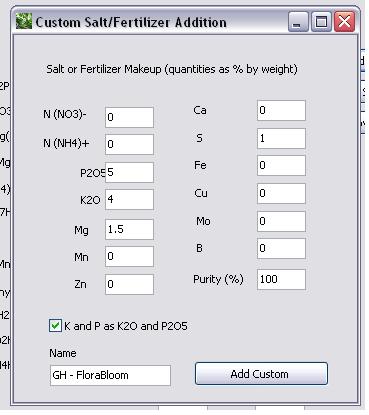
–The NPK measurement was invented as a way to gauge the quality and concentration of the 3 most important nutrients relevant in agriculture within a particular solid or liquid fertilizer. These three numbers represent the percentage composition by weight of any given fertilizer, telling us its percentage composition of N as nitrogen, K as K2O and P as P2O5. The reasons why K2O and P2O5 were used to represent potassium and phosphorous instead of referring to the simple quantities of these elements are that, first of all, the traditional analysis methods used to determine K and P give the values of the oxides in a more straightforward manner and second, the actual percentages of K and P when expressed as the oxides give “good ratios for the plants in soil” when the values are close to the value of N (making comparisons easier).
It is now important to note that the NPK reading must be calculated taking into account the weight of the given nutrient within the solution and the WHOLE weight of the fertilizer used. For example if you have a liquid concentrated fertilizer that has a composition of N = 12000 ppm, K = 20000 ppm and P = 4000 ppm which was prepared with 200g of added salts. The NPK ratio of this solution would be :
Total Solution Weight = 1000g (1L of water) + 200g (added salts)
N = 12000 ppm = 12000 mg/L = 12 g/L
K = 20000 ppm = 20000 mg/L = 20 g/L
P = 4000 ppm = 4000 mg/L = 4 g/L
Percentage of Nitrogen = (12g/1200g)*100 = 1%
Percentage of K as K2O5 = (20g/1200g)*1.2046 (K to K2O conversion factor)*100 = 2%
Percentage of P as P2O5 = (4g/1200g)*2.2914 (P to P2O5 conversion factor)*100 = 0.76%
The final NPK ratio is therefore 1-0.76-2. As you see you need to know the total weight of the solution and the elemental composition in order to be able to obtain this number. It should also be clear that the traditional NPK ratio is a PERCENTAGE COMPOSITION measurement and NOT a mere comparison of the ppm concentration ratios of N, P and K. Knowing a fertilizer’s NPK not only allows you to know the ratio between these three elements but it also allows you to know how much of each one is contained within the solution so that the relative strength of different fertilizers can be calculated.
The traditional NPK ratio however has very limited use in hydroponic cultivation since it was invented to gauge the quality of soil intended fertilizers. Nonetheless it can be used to compare the relative strengths of different fertilizers and the ratio of the three main nutrients within them. However it should be clear that if you want to communicate a measurement that compares ppm concentration ratios you should not refer to this as an NPK measurement since this will cause confusion against the “traditional NPK” which was explained above. In hydroponics it would be easier to talk about ratios of ppm which should be expressed as N/K-P/K-1 for example which would give us the ratio of N to K and P to K without giving information about the percentage composition of the solution.