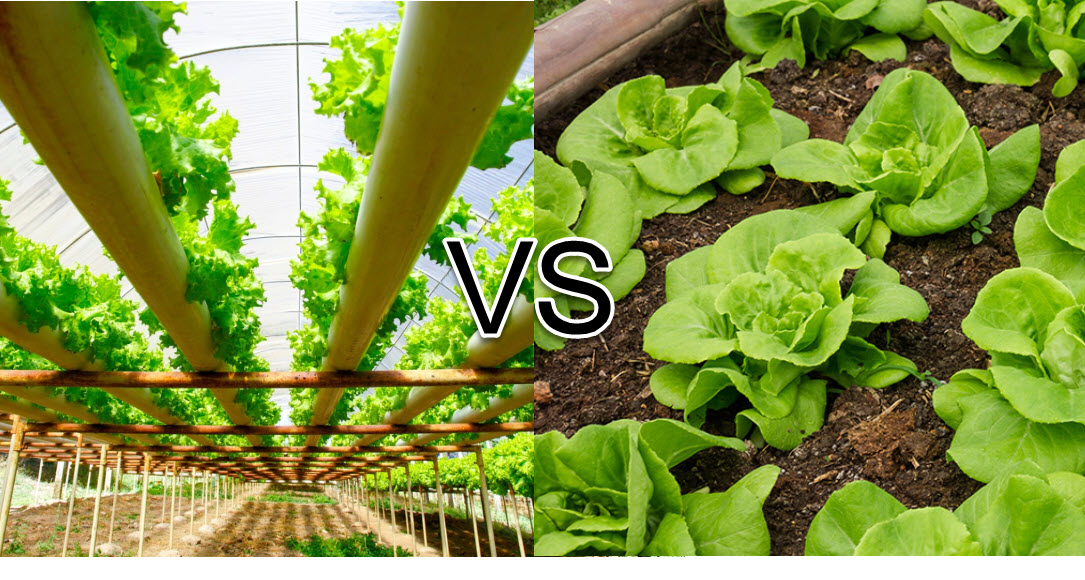
Hydroponics vs soil, all you wanted to know
Hydroponics seeks to grow plants without soil. But is this any better? In this post, we are going to take a deep dive into the peer-reviewed literature comparing soil crops with hydroponic ones. We are going to look at papers that compare yields, quality, cost, and environmental impact. This will help us determine which growing method is better and under which circumstances. In this comparison, “hydroponics” encompasses any crop grown without soil, including those grown in soilless media.
How to compare
It can be hard to compare soilless and soil culture due to the many ways in which both can be done. Soil crops can be grown with or without fertilization, with or without irrigation restrictions, organically or with synthetic fertilizers, in a greenhouse or the field, etc. Different soils can also have widely different qualities and properties. Similarly, hydroponic crops use a wide variety of different systems and nutrient solutions. For this reason, I will focus my analysis on publications that try to directly compare products grown under both methods by the same researchers.
I will also look into literature reviews that try to describe the global picture. These articles can be important, as they can help us evaluate the impact of soil and soilless culture on a much larger scale. These can help us see the impact of all the different methods used and how tilting the scale one way might affect the big picture.
Quality
Many different studies have compared the quality of vegetables and fruits grown in hydroponic and soil cultures. The table below, shows you some of these studies and my assessment of the “winner” in each one, given their conclusions. I also analyzed these reviews on the matter (12, 13) that looked at the publications on the subject.
| Ref | Product | Property | Winner |
| 1 | Lamb Lettuce | Shelf-life | soil |
| 1 | Lamb Lettuce | Quality | soil |
| 2 | Strawberry | Size | hydro |
| 3 | Lettuce | Nutrient density | hydro |
| 4 | Soybean | Nutrient density | hydro |
| 5 | Strawberry | Nutrient density | hydro |
| 6 | Strawberry | Nutrient density | hydro |
| 6 | Raspberry | Nutrient density | soil |
| 7 | Strawberry | Nutrient density & taste | hydro |
| 7 | Raspberry | Nutrient density & taste | hydro |
| 8 | Strawberry | Nutrient density | soil |
| 9 | Strawberry | Quality | soil |
| 10 | Cucumber | Quality | hydro |
| 11 | Pepper | Antioxidants | hydro |
| 12 | Pumpkin | Quality | hydro |
The above results show us that, while hydroponics can produce better or equal results compared with soil, it is by no means guaranteed to do so. If the conditions of the hydroponic system are not adequately controlled or the soil is of much higher quality, the hydroponic system might perform worse.
Neither soil nor hydroponic systems are a guarantee of better or worse quality. It is false to assert that soil crops – even those grown organically, as in some of the above studies – can always provide better results compared to a hydroponic crop. Nutrient density, freshness, taste, and quality can be just as good or even better in a hydroponic system.
However, because of the larger control that the grower exerts in a hydroponic system, it is probably easier, on average, for an inexperienced grower to deliver better results in soil. This is because soil culture is more forgiving, and takes care of more aspects that a grower would have to directly control in a hydroponic system, such as root zone chemical conditions.
Yield
I would suggest reading this blog post I wrote about hydroponic yields first. In it, I talk about the issue of yield in hydroponics, and how the most frequently cited yields per acre – which come from a couple of books that do not properly cite their sources – cannot be assumed to be reliable. To compare with soil, we should therefore look at publications that have done their own experiments to compare both types of culture.

From the articles I reviewed on the subject, none of them gave soil the upper hand. All articles showed an increase in yield in terms of product produced per plant or area, to hydroponic growing (14, 15, 16, 17, 18). However, it was notably difficult to find articles comparing soil and soilless growing methods directly in terms of yield (as you can see I only found 5). This is likely because it is widely assumed that hydroponic crops always give larger yields per acre, so few bother to study this difference directly.
The magnitude of the yield differences is also interesting. Although the books described in my post about “hydroponic yields” cite differences greater than two orders of magnitude, the studies show differences that are always lower than one order of magnitude and most of the time below a 2x increase in yields. This means that, while hydroponic crops are more productive per area, to expect yield increases of 10x when going from soil to soilless culture is unreasonable. Depending on the crop, increases of only 20-30% might be reasonable.
It is also important to understand that higher yields are associated with more complicated hydroponic setups. For this reason, the largest reported yield increases might only be accessible through much larger capital investments.
Environmental impact
The environmental impact of hydroponic crops depends largely on how they handle nutrient solutions (18, 25). Open hydroponic systems will have significantly more water and fertilizer usage than closed systems. In closed systems, the type of system and the efforts made to treat and reuse nutrient solutions will play a key role in determining environmental impact (19, 20). With this in mind, an open hydroponic system is highly undesirable in terms of environmental impact. However, if you treat the runoff (22), this would be desirable over a soil system that uses synthetic fertilizers.
Note that the environmental impact of hydroponic systems increases dramatically if it uses artificial lights. If this is the case, a soil-based approach will always have a lower impact, unless renewable sources are used to produce the energy.
In the case of soil, environmental impact can be very different depending on the growing practices used. Organic growing approaches will deliver significantly lower impact compared to traditional soil agriculture, mainly due to the lower energy expenditure and because they avoid contamination of soil and aquifers with large amounts of nitrates and phosphates (21).
When considering environmental impact, it is also important to consider yields per area. While a closed hydroponic crop might have a higher environmental impact per acre of land used than an organic soil crop, if it produces 3x more product, the environmental impact per gram of fruit or vegetable produced might be much lower. Although I couldn’t find any direct studies comparing the environmental impact of soil and hydroponic approaches, it would be reasonable to think that a closed hydroponic system should have a lower environmental impact per gram of product, as long as the yields per area are significantly higher compared to the organic soil approach.
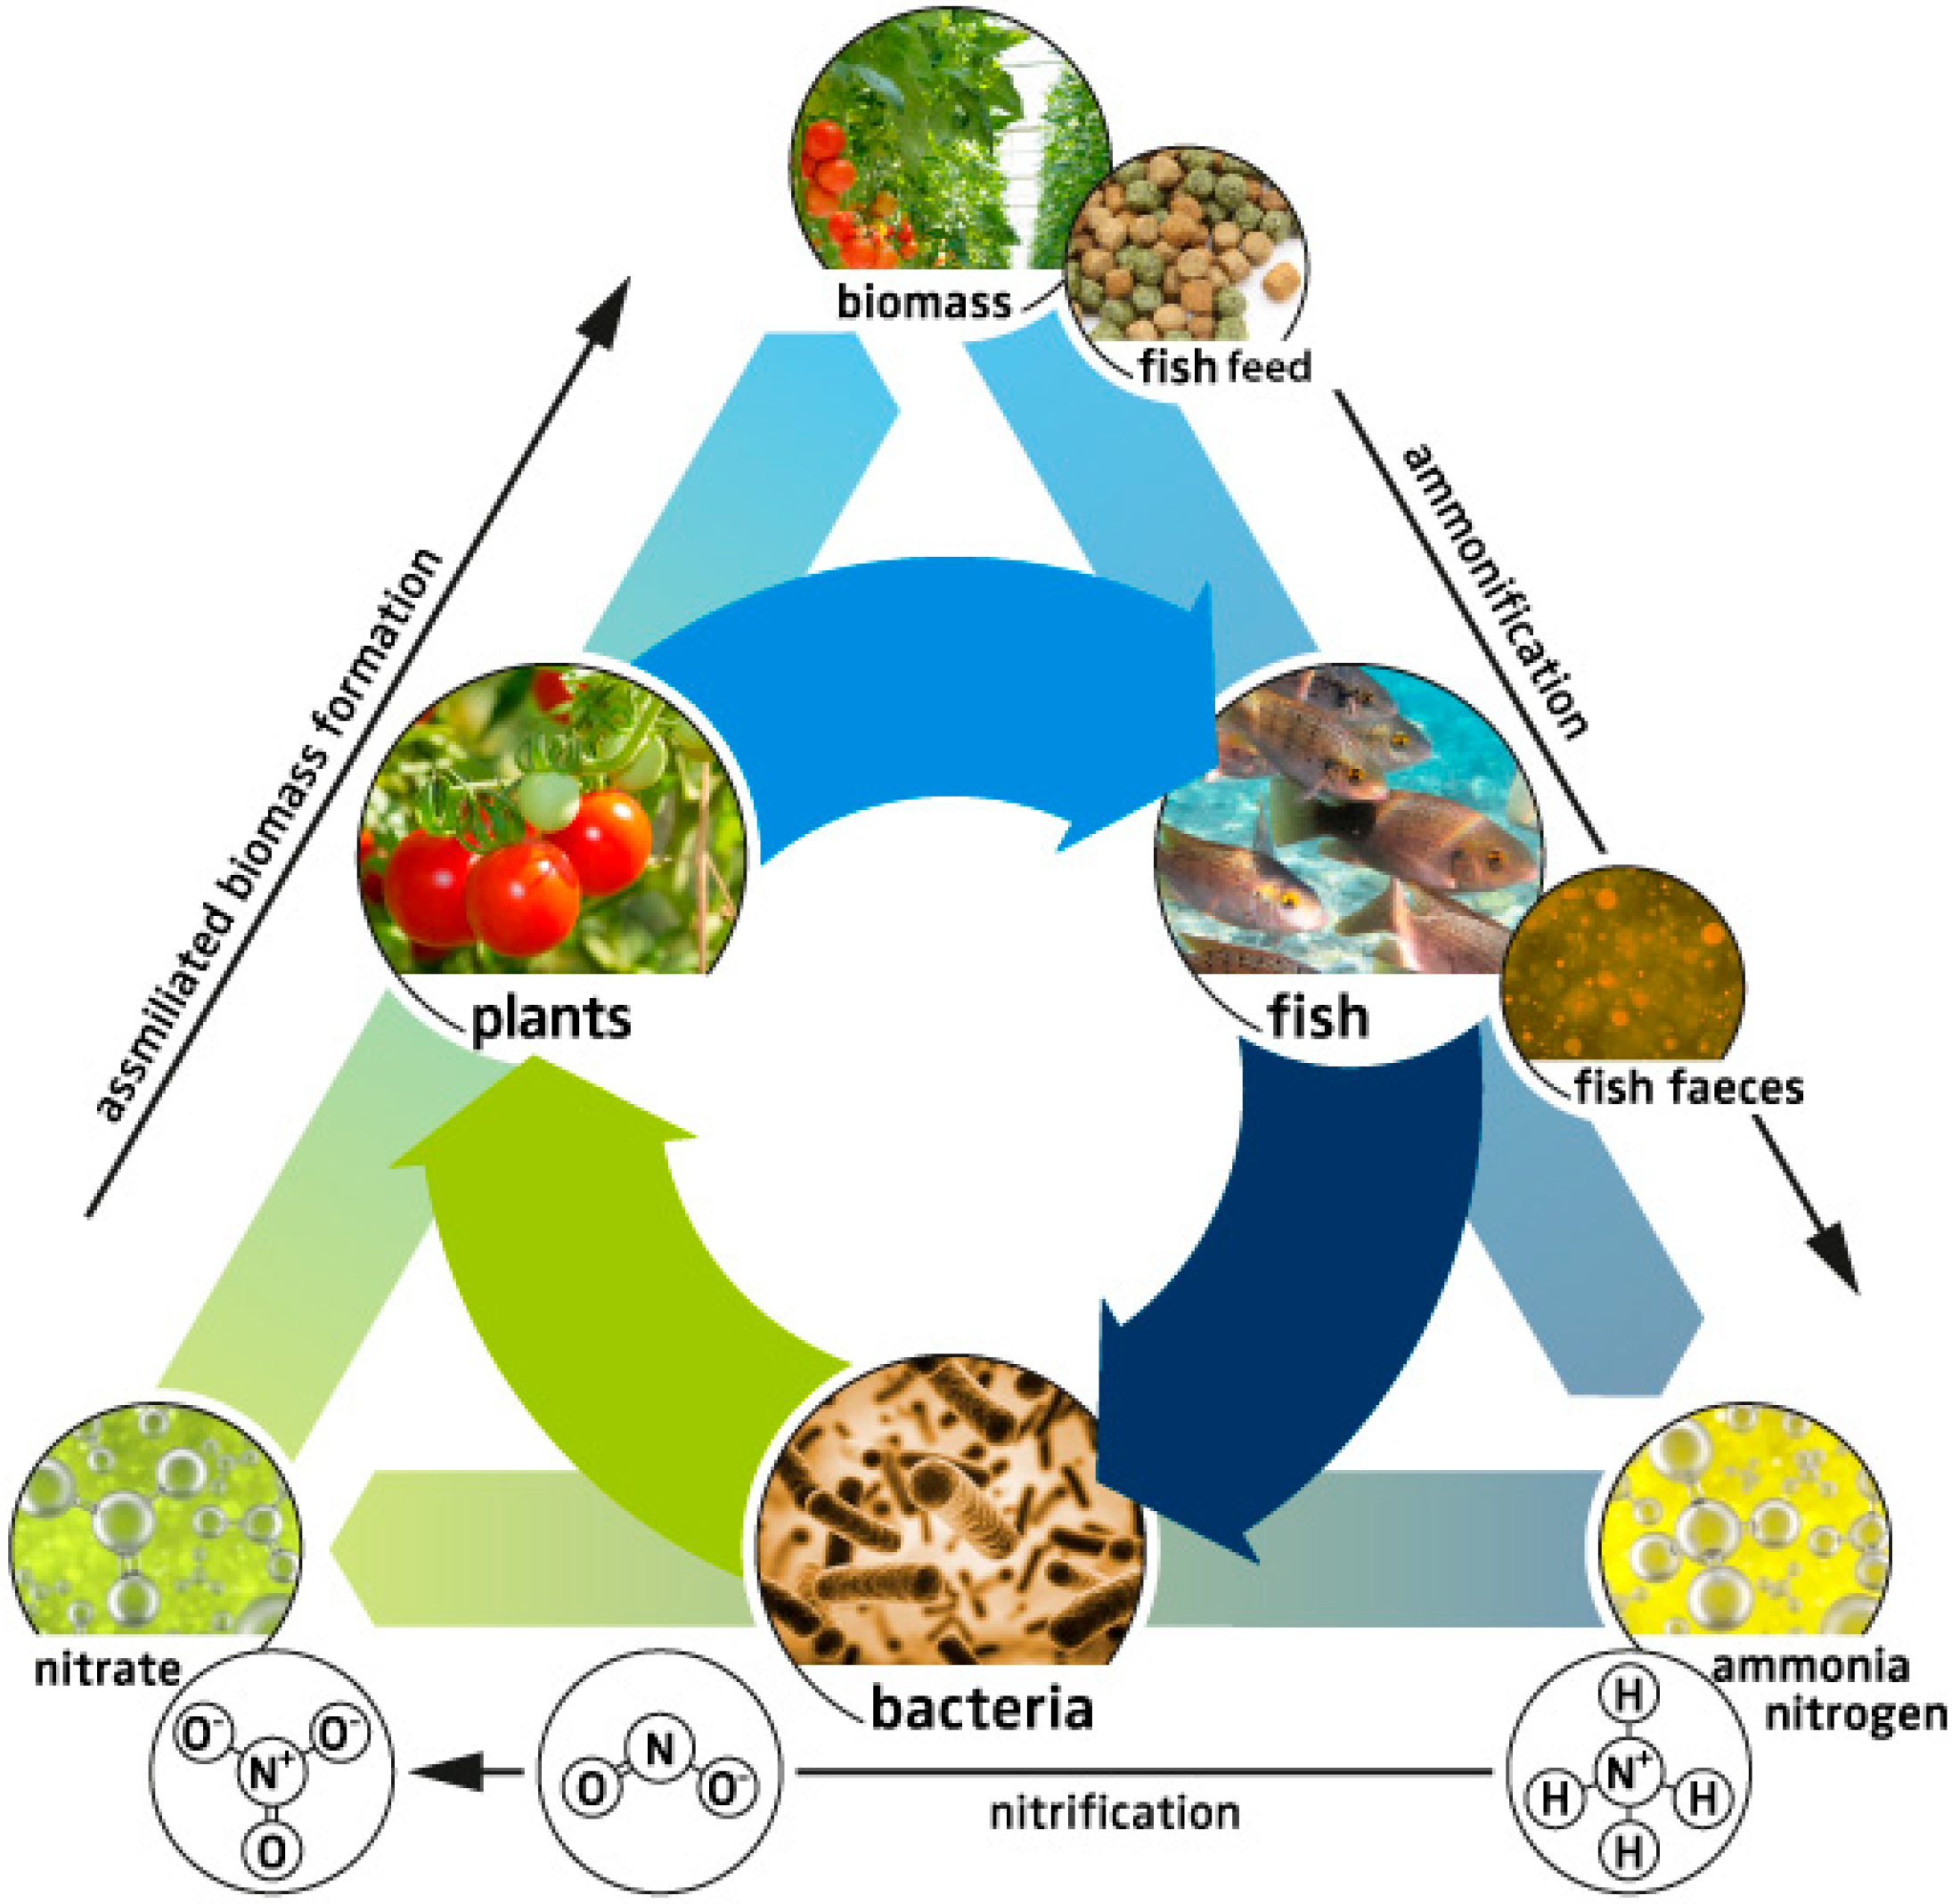
With that said, an approach that makes use of low energy inputs makes very efficient use of water, and has a high planting density, might be the ideal growing system in terms of environmental impact. I suggest you read my blog post about aquaponics if you’re interested in this topic. Closed hydroponic systems that use treated sewage instead of newly prepared hydroponic nutrients might also be extremely low-impact, high-productivity systems (22, 26).
Cost
Money is important in agriculture, as it is often the main driver when determining the growing system. Hydroponic crops have higher startup costs compared with soil. This is because the minimal hydroponic setup is substantially more complex relative to the minimal soil setup. However, even when greenhouses are involved, the hydroponic setups will often have higher starting costs (23).
Although starting costs are higher, life cycle costs of hydroponic setups can be lower due to higher yields, fertilizer, and water use efficiency. This is especially the case when you grow highly efficient crops, like lettuce. In this study, (24) they compared the yield, cost, and water efficiency of different hydroponic and protected soil setups. Hydroponic NFT setups were much more water-efficient and much more feasible from an economic perspective.
Hydroponic crops also have access to areas that are traditionally unavailable for soil agriculture. For example, hydroponic crops can be grown on rooftops and produce significantly more money than solar panels under some conditions (25). In this case, hydroponic crops fill a niche that has no soil-based equivalent, since the area would never be used by soil agriculture.
Conclusion
The best soil grower is better than the worst hydroponic grower. The best hydroponic grower is better than the worst soil grower. The most important thing when you decide to grow a certain way, is to strive to do it in a manner that leads to higher quality, that maximizes yields, minimizes environmental impact and, if possible, is done at a low cost.
Soil agriculture has its place. It is cheaper to start with, requires fewer materials, can be done at a much larger scale, and can produce high-quality, sustainable results when done correctly. Hydroponic culture offers higher yields per area, potentially lower environmental impact, and lower life cycle costs. However, it costs more and requires substantially more knowledge and care to provide comparable results.
Have you grown in soil and hydroponics? Which one do you like best? Let us know in the comments below!