New to organic hydroponics? Consider these six things
Although hydroponic crops cannot usually be labeled as “organic” by official certifying authorities, like the USDA, we can create a hydroponic crop that is “organic” in spirit. We can do this if we avoid the use of traditional synthetic chemical fertilizers – meaning using only OMRI listed products – and use a growing media that mimics some of the functionality that is provided by soil. This can be quite tricky to do and can lead to substantial issues in crops, reason why it is important to be aware of the problems that can arise. In this post, I will talk about five important things to consider when trying to do an organic hydroponic crop.
The media needs to be friendly for microbes. A traditional hydroponic crop will benefit from having media that is as inert as possible. However, if you are going to be avoiding synthetic fertilizers, this means that certain functions will need to be carried out by microbes. Most importantly, microbes will carry out the conversion of protein-derived nitrogen to ammonium and then nitrate nitrogen. Peat moss and coco can be friendly media for microbes, while rocky media like rockwool, perlite, vermiculite, and sand, can be more hostile. Peat moss is my preferred media for this type of setup, as the acidification of the peat moss will also help deal with some of the chemical issues that arise through an organic hydroponic crop.
Provide a nutrient solution that is as complete as you can. Your hydroponic nutrient solution should still give your plants a fair amount of nutrition, especially nutrients that are easily soluble and can leech from the media. There are several OMRI approved soluble sources of vegetable/animal-derived nutrition that can be used to create an organic feed for your plants, such as fish emulsions and kelp extracts. There are also some valuable mineral sources that are mined that can be used, such as sodium nitrate, potassium sulfate, gypsum, and magnesium sulfate (Epsom salt). Use these sources to create a balanced nutrient solution for your plants.
Amend the media to compensate for what the nutrition solution will lack. An organic hydroponic crop will generally need to contain some form of amended media because the nutrient solution will not be able to effectively provide all the nutrients it provides in a regular hydroponic crop. The absence of synthetic salts implies that we will not be able to provide things like nitrates and phosphates in the amounts we would desire. This means that nitrogen and phosphorus will both need to be added to the media to some extent. This can be done with vegetable protein, bone meal, and rock phosphate amendments.
Keep aeration higher than you would in a normal hydroponic crop. In a normal hydroponic crop, the number of microorganisms and organic decomposition reactions in the media will be quite low. However, when we move to a setup where a significant amount of nutrition is provided by microorganisms in the root zone, aeration becomes a big issue due to the increased oxygen demand from the bacterial and fungal populations in the media. A media used for an organic hydroponic setup will usually require a substantial amount of aeration to be present. If using peat moss, it is useful to mix it 40/60 with something like perlite or rice husks in order to improve the aeration properties of the media substantially.
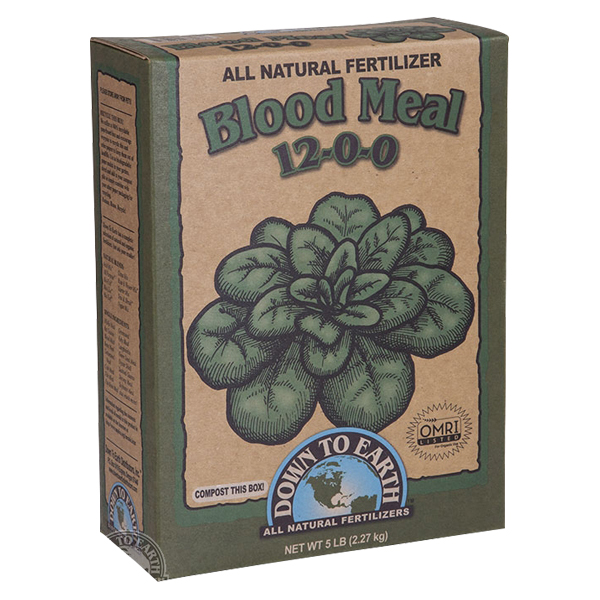
Bad heavy metals are going to be your enemy. Plants require some heavy metals and media like peat moss will lack the amounts necessary to properly sustain plant growth. However, resist the temptation to amend the media with something like green sand or azomite – a volcanic rock – as these sources can contain very important amounts of bad heavy metals, like lead, arsenic, and mercury. Instead, it is better to use amendments that provide animal sources of metals – like blood meal – or to use an organic source of soluble heavy metals in your nutrient solution, such as the Biomin series of products. Compost teas can also be a very important source of needed heavy metals. Be very aware of bad heavy metals in your organic inputs.
Inoculate the media with the bacterial and fungal populations you need. Since bacteria and fungi are going to be your allies, you need to properly inoculate the media with healthy microbe populations. I would advise inoculating with both beneficial fungi, like Trichoderma species and also with a bacteria-containing product, such as Tribus. Compost teas can also be an important source of bacteria and fungi to colonize the plant’s rhizosphere.
Although the above is by no means a complete list, it does highlight some key points when moving from a purely hydroponic setup into a hydroponic setup that will rely heavily on microbes for the release of nutrients. This is a midway approach between a soil-based approach and a complete hydroponic setup, where we are expected to provide some of the nutrition through the nutrient solution but a lot of it is also expected to come from the media itself. It can be done successfully and amazing crops can be grown with it, however, it does require you to apply the skills of both soil and hydroponic crop manager.